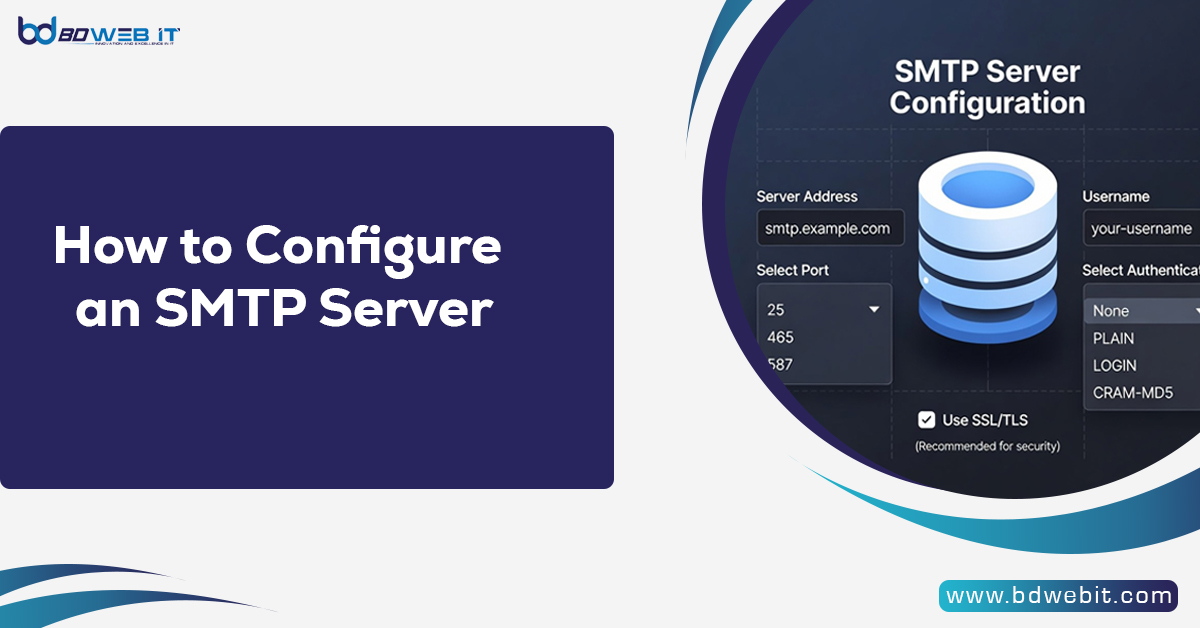
To configure an SMTP server, you need to install and set up mail transfer software (like Postfix, Exim, or Sendmail), configure your domain’s DNS records (MX, SPF, DKIM, and DMARC), set proper authentication and encryption (TLS/SSL), open the correct ports (25, 465, or 587), and test email delivery to ensure everything works securely and reliably. Once configured correctly, your SMTP server will be able to send emails efficiently without landing in spam folders.
Now, let’s go deeper into the full process and best practices.
What Is an SMTP Server?
An SMTP server is responsible for sending emails from one server to another. Popular mail transfer agents (MTAs) used for SMTP configuration include:
- Postfix
- Exim
- Sendmail
- Microsoft Exchange
SMTP works alongside POP3 or IMAP servers to manage sending and receiving emails. Without proper SMTP configuration, your emails may fail to send or get flagged as spam.
Requirements Before Configuring SMTP
Before you begin, make sure you have:
- A VPS or dedicated server (Linux or Windows)
- A registered domain name
- Root or administrative access
- Static IP address (recommended)
- Open ports (25, 465, 587)
For most Linux servers, Postfix or Exim is recommended because they are lightweight and widely supported.
How to Configure an SMTP Server? Step-by-Step Guide
Step 1: Install SMTP Server Software
For Ubuntu/Debian (Postfix Example)
Bash
sudo apt update
sudo apt install postfix
During installation:
- Select “Internet Site”
- Enter your domain name (e.g., example.com)
For CentOS/AlmaLinux
Bash
sudo dnf install postfix
After installation:
Bash
sudo systemctl enable postfix
sudo systemctl start postfix
Step 2: Configure Main SMTP Settings
The main configuration file for Postfix is:
Code
/etc/postfix/main.cf
Important parameters to configure:
Bash
myhostname = mail.yourdomain.com
mydomain = yourdomain.com
myorigin = $mydomain
inet_interfaces = all
mydestination = $myhostname, localhost.$mydomain, localhost, $mydomain
Restart Postfix after editing:
Bash
sudo systemctl restart postfix
Step 3: Configure DNS Records (Very Important)
SMTP configuration is incomplete without proper DNS setup. You must configure:
1. MX Record
Points your domain to your mail server:
Code
example.com → MX → mail.example.com
2. A Record
Code
mail.example.com → Your Server IP
3. PTR (Reverse DNS)
Must match your mail hostname. Contact your VPS provider to set this.
Step 4: Configure SPF Record
SPF (Sender Policy Framework) helps prevent spoofing.
Example SPF TXT record:
Code
v=spf1 ip4:YOUR.SERVER.IP ~all
If using third-party services like SendGrid or Mailgun, include them in SPF:
Code
v=spf1 ip4:YOUR.SERVER.IP include:sendgrid.net ~all
Step 5: Configure DKIM
DKIM (DomainKeys Identified Mail) signs outgoing messages.
Install OpenDKIM:
Bash
sudo apt install opendkim opendkim-tools
Generate keys:
Bash
opendkim-genkey -s default -d yourdomain.com
In your DNS, include the public key as a TXT record.
Step 6: Configure DMARC
Add a DMARC TXT record:
Code
_dmarc.yourdomain.com
Value:
Code
v=DMARC1; p=none; rua=mailto:[email protected]
After monitoring reports, you can change policy to:
- p=quarantine
- p=reject
Step 7: Enable SMTP Authentication (SMTP AUTH)
Edit Postfix configuration:
Bash
smtpd_sasl_auth_enable = yes
smtpd_sasl_security_options = noanonymous
smtpd_sasl_local_domain = $myhostname
This stops unsanctioned users from using your server to send emails.
Step 8: Enable SSL/TLS Encryption
Install SSL certificate (Let’s Encrypt recommended).
Bash
sudo apt install certbot
sudo certbot certonly --standalone -d mail.yourdomain.com
Configure Postfix:
Bash
smtpd_tls_cert_file=/etc/letsencrypt/live/mail.yourdomain.com/fullchain.pem
smtpd_tls_key_file=/etc/letsencrypt/live/mail.yourdomain.com/privkey.pem
smtpd_use_tls=yes
Restart the service:
Bash
sudo systemctl restart postfix
Step 9: Open Firewall Ports
Ensure these ports are open:
- 25 (SMTP)
- 587 (Submission)
- 465 (SMTPS)
Example for UFW:
Bash
sudo ufw allow 25
sudo ufw allow 587
sudo ufw allow 465
Step 10: Test SMTP Configuration
You can test using:
Bash
telnet mail.yourdomain.com 25
Or use online tools like:
- MXToolbox
- Mail-Tester
Check:
- SPF result
- DKIM validation
- Blacklist status
- Reverse DNS
Common SMTP Configuration Mistakes
- Missing PTR record
- Wrong hostname
- No SPF/DKIM
- Using port 25 only (many ISPs block it)
- Sending bulk emails from new IP
Best Practices for Better Email Deliverability
✔ Warm up your IP gradually
✔ Monitor server logs (/var/log/mail.log)
✔ Avoid spam trigger words
✔ Set up rate limits
✔ Keep server updated
✔ Use SMTP authentication
If you send high-volume emails, consider using professional services like Amazon SES or Google Workspace instead of managing your own server.
Should You Host Your Own SMTP Server?
Pros:
- Full control
- No sending limits
- Lower long-term cost
Cons:
- High maintenance
- Risk of blacklisting
- Complex security management
For businesses sending transactional emails, self-hosted SMTP is viable. For marketing campaigns, third-party SMTP providers are often better.
Final Thoughts
Configure an SMTP server requires technical knowledge, proper DNS setup, authentication protocols, and continuous monitoring. Simply installing Postfix or Exim is not enough — you must secure your server with SPF, DKIM, DMARC, TLS encryption, and reverse DNS.
If done correctly, your SMTP server will deliver emails reliably and maintain a strong sender reputation.
Whether you choose self-hosted SMTP or services like BDWEB IT, proper configuration is the key to inbox placement and successful email communication.