


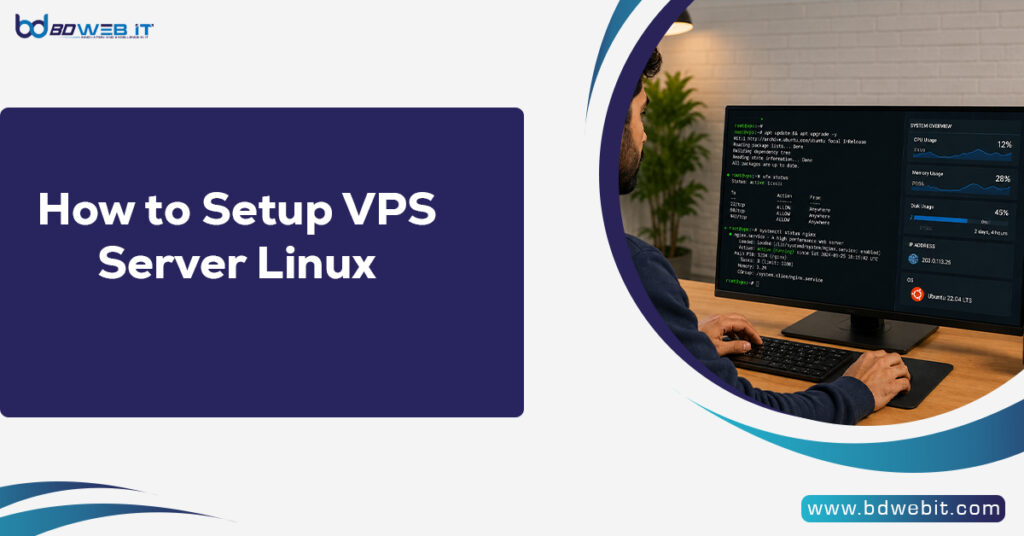
Are you curious about how you should setup a VPS server Linux? This process includes selecting the Linux distribution that you wish to use, accessing your VPS via SSH, updating your server, setting up an account, installing a firewall, installing all software that is required, and securing the server for deployment. Using Linux VPS to host websites, applications, databases, or emails can be really flexible and powerful.
Learn how to setup a VPS server Linux with this step-by-step guide. Configure SSH, secure your server, install Apache, Nginx, MySQL, PHP, and optimize your Linux VPS for performance and security.
What Is a Linux VPS Server?
A Linux VPS refers to an instance of a virtual private server that runs on the Linux operating systems, which include Ubuntu, Debian, CentOS, Rocky Linux, and AlmaLinux. In contrast to the shared hosting services, a VPS comes with dedicated resources, including the CPU, memory, storage, and bandwidth.
Linux VPS servers are popular because they are:
- Cost-effective
- Secure and stable
- Highly customizable
- Ideal for web hosting and development
- Compatible with most open-source applications
Step 1: Choose a Linux Distribution
The first step is selecting the operating system for your VPS.
Popular Linux distributions include:
Ubuntu Server
- Beginner-friendly
- Large community support
- Frequent updates
- Ideal for web hosting and applications
Debian
- Stable and reliable
- Lightweight
- Excellent for production environments
Rocky Linux / AlmaLinux
- Enterprise-grade
- CentOS alternatives
- Suitable for business workloads
For beginners, Ubuntu Server is often the best choice due to its simplicity and extensive documentation.
Step 2: SSH into your VPS
After deploying your VPS, your hosting provider will provide:
- Server IP address
- Username (usually root)
- Password or SSH key
On Windows, use:
- PuTTY
- Windows Terminal
- PowerShell
If you’re on Linux or macOS, open Terminal and type:
ssh root@your-server-ip
Example:
ssh root@192.168.1.100
Enter your password when prompted.
Once connected, you will have full access to your Linux VPS.
Step 3: Update the Operating System
Before installing any software, update your server packages.
For Ubuntu or Debian:
apt update && apt upgrade -y
For Rocky Linux or AlmaLinux:
dnf update -y
Updating your server ensures that security vulnerabilities and bugs are patched.
Step 4: Create a New User
Using the root account for daily administration is not recommended.
Create a new user:
adduser adminuser
Add the user to the sudo group:
usermod -aG sudo adminuser
Test the account:
su - adminuser
This improves server security by reducing direct root usage.
Step 5: Configure SSH Security
SSH is the primary method for managing a Linux VPS, making security essential.
Edit the SSH configuration file:
nano /etc/ssh/sshd_config
Change the following settings:
PermitRootLogin no
PasswordAuthentication yes
For maximum security, use SSH keys instead of passwords.
Restart SSH:
systemctl restart ssh

or

systemctl restart sshd
Step 6: Set Up a Firewall
A firewall helps protect your server from unauthorized access.
For Ubuntu:
ufw allow OpenSSH
ufw allow 80
ufw allow 443
ufw enable
Check status:
ufw status
For Rocky Linux:
firewall-cmd --permanent --add-service=http
firewall-cmd --permanent --add-service=https
firewall-cmd --reload
A properly configured firewall is one of the most important security measures.
Step 7: Install a Web Server
Most Linux VPS users host websites or applications.
Install Apache
apt install apache2 -y
Start Apache:
systemctl start apache2
systemctl enable apache2
Verify:
systemctl status apache2
Visit:
http://your-server-ip
You should see the Apache welcome page.
Install Nginx
Alternatively:
apt install nginx -y
Start Nginx:
systemctl start nginx
systemctl enable nginx
Nginx is popular for high-performance web hosting environments.
Step 8: Install a Database Server
Many websites require a database.
Install MySQL:
apt install mysql-server -y
Secure MySQL:
mysql_secure_installation
Alternatively, install MariaDB:
apt install mariadb-server -y
Databases are essential for WordPress, Laravel, Magento, and other web applications.
Step 9: Install PHP
For dynamic websites, PHP is commonly required.
Install PHP:
apt install php php-cli php-fpm php-mysql -y
Verify:
php -v
You should see the installed PHP version.
Popular PHP applications include:
- WordPress
- Joomla
- Drupal
- Laravel
- Magento
Step 10: Secure Your VPS
Security should always be a priority.
Enable Automatic Updates
Ubuntu:
apt install unattended-upgrades -y
Install Fail2Ban
apt install fail2ban -y
Start service:
systemctl enable fail2ban
systemctl start fail2ban
Fail2Ban blocks repeated login attempts and helps prevent brute-force attacks.
Regular Backups
Schedule backups using:
- rsync
- cron jobs
- Backup software
- Cloud storage
Backups ensure quick recovery during hardware failures or security incidents.
Step 11: Configure a Domain Name
Instead of using an IP address, connect a domain to your VPS.
Update your domain DNS records:
A Record
example.com → VPS IP Address
WWW Record
www.example.com → VPS IP Address
DNS propagation may take several hours.
After propagation, your website can be accessed through your domain name.
Step 12: Install SSL Certificates
SSL encrypts data between visitors and your server.
Install Certbot:
apt install certbot python3-certbot-nginx -y

Generate SSL:

certbot --nginx

Or for Apache:

certbot --apache
Benefits of SSL:
- Improved security
- Better SEO rankings
- Increased visitor trust
- HTTPS encryption
Common VPS Management Commands
Check disk space:
df -h
Check memory usage:
free -m
CPU load Check :
top
Restart server:
reboot
View active services:
systemctl list-units --type=service
These commands help monitor and maintain your VPS efficiently.
Final Thoughts
How to setup a VPS server Linux is one of the most important skills for developers, website owners, and companies that need more control over their hosting environment. The selection of an appropriate Linux distribution, a secure SSH connection, configuration of the firewall, installation of the web server, and security practices will help you create a reliable and efficient VPS server environment.
The configuration of a Linux VPS server is important for different tasks such as websites, applications, WordPress sites, and even development projects.