


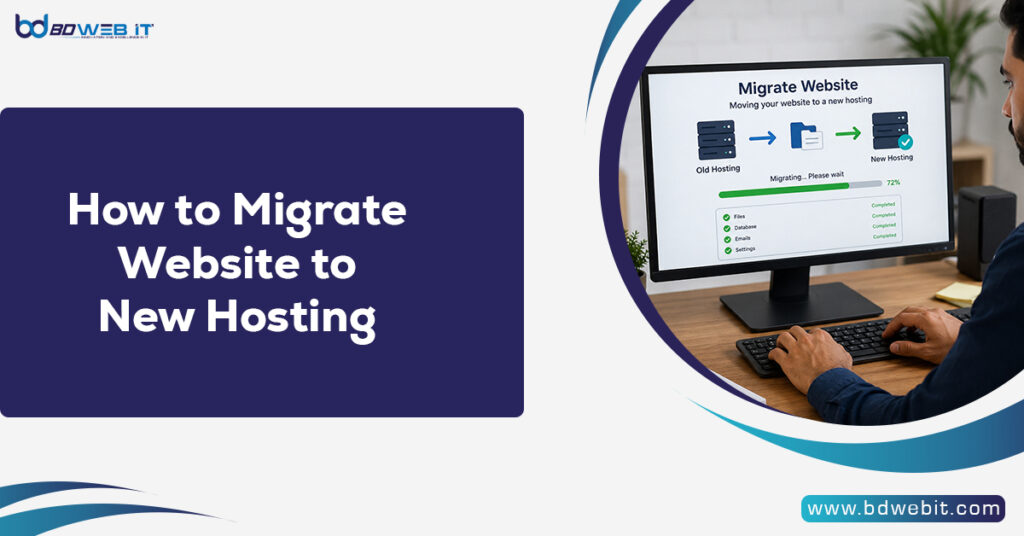
Website migration is defined as the act of migrating all the files, databases, emails, and settings of a particular website from one web hosting company to another in order to avoid data loss or downtime. This involves backup of a website, transfer of files, import/export of databases, modification of DNS records, checking of websites, and activating the newly migrate web hosting account. Proper website migration can lead to improved performance and security, among other things.
Why Website Owners Move to New Hosting
Many website owners eventually outgrow their current hosting provider. Common reasons include:
- Slow website speed
- Frequent downtime
- Poor customer support
- Higher renewal costs
- Limited server resources
- Security concerns
- Need for VPS or cloud hosting
- Better scalability for growing traffic
This can be true if you are using a blog, business website, e-commerce store, or portfolio. Here are some things that you have to do before website migration.
Things to Do Before Website Migration
Before starting the migration process, preparation is important. A proper plan helps avoid data loss and downtime.
1. Choose the Right Hosting Provider
Select hosting based on your website requirements. Consider:
- SSD or NVMe storage
- Bandwidth limits
- Free SSL certificates
- Daily backups
- Server location
- Support quality
- Scalability options
For WordPress websites, managed WordPress hosting may facilitate migration.
2. Create a Full Website Backup
Always create a complete backup before migration. This includes:
- Website files
- Databases
- Email accounts
- DNS zone settings
You can use:
- cPanel Backup Wizard
- WordPress backup plugins
- FTP downloads
- phpMyAdmin exports
Having a backup ensures you can restore the site if something goes wrong.
3. Lower DNS TTL Value
Reducing the DNS TTL (time to live) value before migration. It will help for faster DNS propagation during the change of the host company.
A TTL of 300 seconds is commonly recommended before migration.
How to Migrate Website to New Hosting? Step-by-Step Guide
Step 1: Backup Website Files
Download all website files from your present hosting account.
You can use:
- File Manager
- FTP clients like FileZilla
- SSH access
Important files include:
- HTML files
- WordPress core files
- Themes and plugins
- Images and media uploads
- Configuration files
Compressing files into a ZIP archive can make transfer easier.
Step 2: Export Your Database
Most websites use MySQL databases.
To export:
- Open phpMyAdmin
- Select your database
- Click “Export”
- Choose Quick Export
- Download the SQL file
This database contains posts, settings, user accounts, and dynamic website content.
Step 3: Upload Files to New Hosting
Log in to your new hosting account and upload website files.
You can use:
- File Manager upload
- FTP transfer
- SSH/SCP commands
Upload files into the correct root directory, such as:
- public_html
- www
- htdocs
Make sure all files are transferred completely.
Step 4: Create a New Database
Inside the new hosting control panel:
- Create a new MySQL database
- Create a database user
- Assign the user to the database
- Grant all privileges
Save the following information:
- Database name
- Username
- Password
- Database host
You will need these details later.
Step 5: Import the Database
Now import the outdated database into the new hosting account.
Using phpMyAdmin:
- Open the new database
- Click “Import”
- Select the SQL file
- Start import
Wait for the process to finish successfully.
Step 6: Update Website Configuration
Most CMS platforms use configuration files for database connections.
For WordPress, edit the wp-config.php file and update:
- Database name
- Database username
- Password
- Database host
For other platforms, update equivalent configuration files.
Incorrect database details can cause connection errors.
Step 7: Test Website on New Hosting
Before changing the domain DNS, test the website carefully.
You can:
- Use temporary URLs
- Modify your local hosts file
- Use preview links provided by hosting companies
Check:
- Homepage loading
- Internal pages
- Images
- Contact forms
- Login functionality
- Plugins and themes
- Mobile responsiveness
Testing prevents visitors from seeing errors after migration.
Step 8: Update Domain DNS
Once everything works properly, point your domain to the new hosting provider.
Update nameservers or A records through your domain registrar.
DNS propagation may take:
- A few minutes
- Up to 48 hours globally
During this time, some users may still see the old server.
Step 9: Monitor Website After Migration
After DNS propagation:
- Check website speed
- Monitor uptime
- Test forms and checkout systems
- Verify SSL certificates
- Monitor email delivery
Keep the old hosting active for a few days until you confirm everything works correctly.
How to Migrate a WordPress Website
WordPress migration is easier using plugins.
Popular migration plugins include:
- All-in-One WP Migration
- Duplicator
- UpdraftPlus
- Migrate Guru
These tools automate:
- File transfer
- Database migration
- URL replacement
- Backup restoration
Many hosting providers offer complimentary WordPress migration services.
Common Website Migration Problems
Downtime Issues
If you change DNS before testing is complete, testing may be interrupted.
Solution:
Keep old hosting active during migration.
Missing Images or Files
Some files may fail during transfer.
Solution:
Re-upload missing files using FTP.
Database Connection Errors
Incorrect database credentials can break the website.
Solution:
Double-check configuration settings.
Mixed Content Warnings
SSL errors may appear after migration.
Solution:
Secure your site URLs with HTTPS and correctly install SSL certificates.
Email Problems
Email accounts often do not migrate automatically.
Solution:
before backing up old emails and recreating the email accounts on the new host.
Tips for Smooth Website Migration
Perform Migration During Low Traffic Hours
Move the website when visitor activity is lowest to reduce disruption.
Use Staging Environments
A staging environment lets you test the website before going live.
Keep Multiple Backups
Store backups locally and in cloud storage.
Check PHP Version Compatibility
Older websites may not work with newer PHP versions.
Scan for Malware
Before migration, ensure the website is clean and secure.
Benefits of Migrating to Better Hosting
A successful hosting migration can provide several advantages:
- Faster website loading speed
- Better uptime reliability
- Improved security
- More server resources
- Easier scalability
- Better support experience
- Enhanced SEO performance
Google uses ranking factors such as uptime and page speed. Faster-loading websites and consistently available servers can improve user experience, which may positively impact search rankings. Therefore, better web hosting can increase search engine rankings indirectly.
Final Thoughts
Migrate of a website to another hosting is one of the most important skills that need to be learned by any person managing websites or businesses. Even though the whole procedure can appear complicated, with proper planning and implementation, it can become very simple and secure. With correct backups, proper testing, and correct DNS configuration, you will migrate your website successfully.
No matter whether you choose to upgrade to VPS from shared hosting or switch to another hosting provider to get better support, migration will allow your visitors to have a smooth browsing experience.